Guide · Workbench
Workbench Placement: Where to Put a Workbench in Your Shop
Good workbench placement starts with one question: what else does the bench have to do? In many home shops the bench stands behind the table saw as its outfeed table, close to good light and an outlet, with room to walk around at least one end.
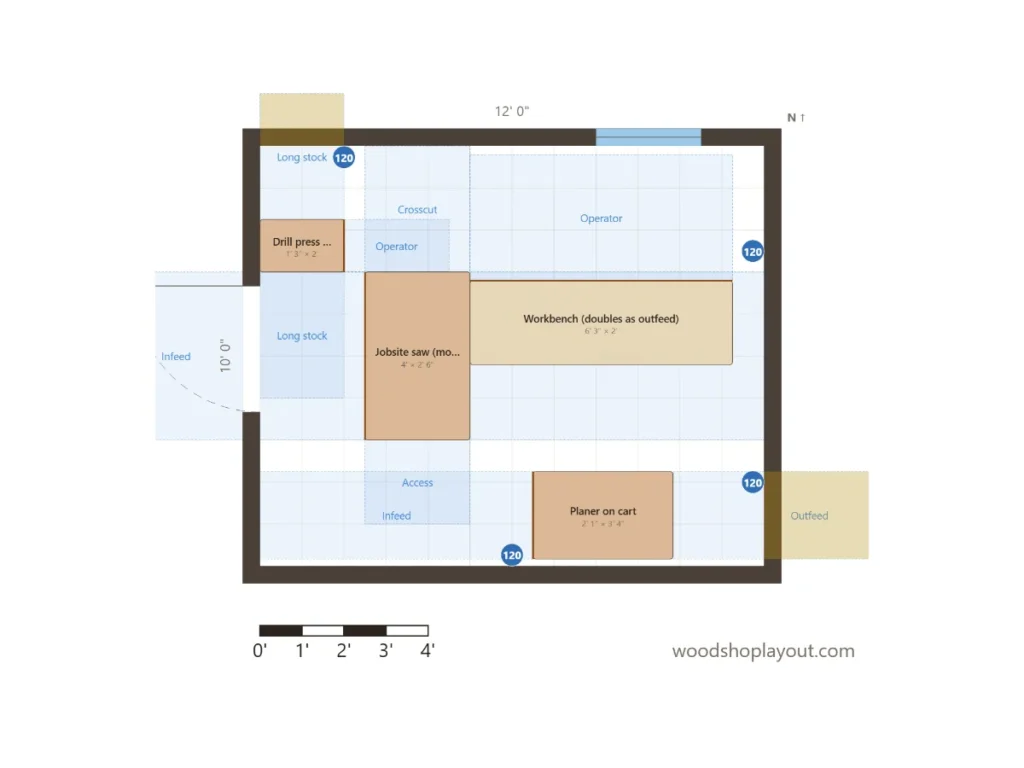
A small 10×12 shop where the workbench stands behind the jobsite saw and doubles as its outfeed table.
The bench is the center of the shop
Why the bench spot matters more than it looks
A workbench is easy to move on paper and hard to move later, once it is loaded with vises, tools and a project. It is also the place where you spend most of your time: marking, chiseling, planing, gluing, sanding and fixing small parts. A spot that is dark, far from power or boxed in by machines makes every one of those jobs slower.
In a small shop the bench usually has a second job. It can catch boards behind the table saw, serve as the assembly table or hold a benchtop machine. That is why the bench is best planned right after the table saw, not at the end, when only a leftover corner is free. Our table saw placement guide covers the first step; this guide picks up from there.
This guide is for hobby woodworkers deciding where a workbench goes in a garage, basement, shed or small shop. It is not a guide to building a bench or choosing a bench design.
Rules of thumb
Where to put a workbench
Common planning rules for home shops. They are rules of thumb, not fixed measurements; your room and your work decide in the end.
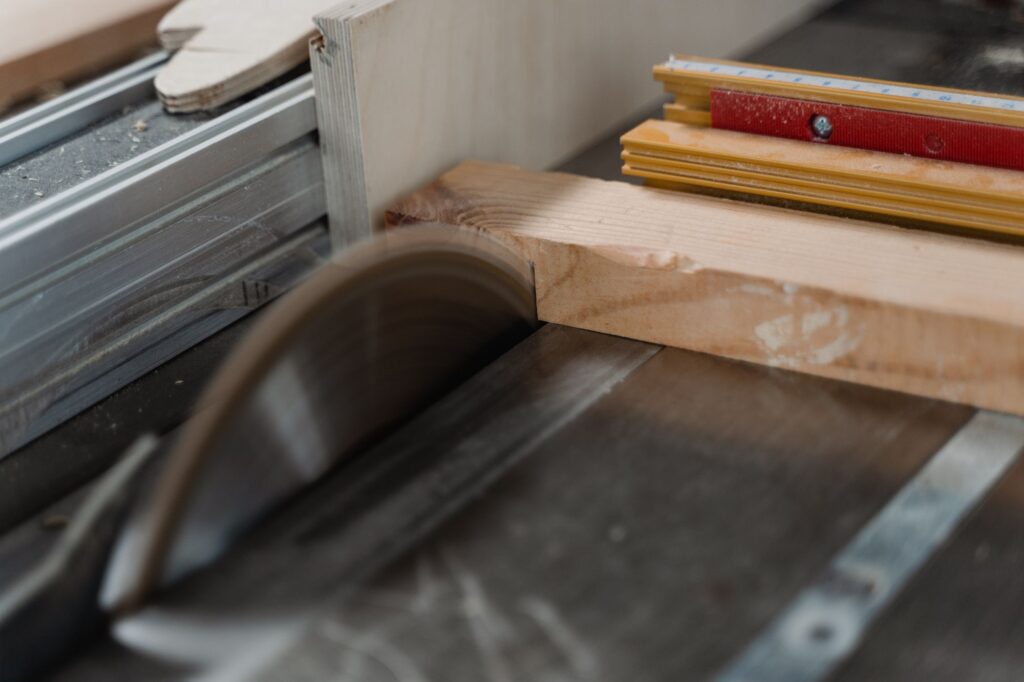
- Plan it right after the table saw, not last. Once the saw’s infeed and outfeed lane is fixed, check whether the bench can stand in that lane as an outfeed table.
- As outfeed, line it up with the blade. The bench top must not be higher than the saw table, or parts catch on its edge instead of sliding onto it.
- Wall bench or island? A bench against the wall saves floor space and keeps tools in reach on the wall. A free-standing island lets you work from both sides and clamp long parts, but needs open floor all around.
- Leave a walkway around it. As a rule of thumb, about 3 ft where you stand and walk, and about 4 ft where you carry sheet goods past the bench.
- Keep the vise end free. A board clamped in an end vise or face vise sticks out past the bench. Plan open floor at that end for the longest board you plane or saw by hand.
- Put it near light and power. Good light helps with marking and finishing; a window can help in daytime. Plan an outlet at or near the bench for sanders, routers and chargers.
- Keep it close to assembly and finishing. In the usual order of work, joinery and assembly happen at or next to the bench, so the bench sits between the machines and the finishing area.
Common setups
Four places a workbench often goes
Behind the table saw
The bench catches the boards and parts coming off the saw. A common space saver in small shops and garages.
Along a long wall
The classic spot. Tools hang on the wall above, and the bench stays out of the machine lanes.
As a free-standing island
Works from all sides and handles big glue-ups, but needs open floor all around. More common in larger shops.
Under or near a window
Daylight for marking and checking a finish. Keep long boards and clamps from swinging into the glass.
Whatever spot you choose, check it with your longest board: you should be able to clamp it in the vise and work along its full length without hitting a wall or a machine.
Height
How high should a workbench be?
Bench height depends on your body and on the work you do most. Measure your elbow height while standing in your shop shoes and work out from there. Hand planing and other work where you push down favors a lower bench; fine marking and detail work favors a higher one.
Ergonomics guidance points the same way. The Canadian Centre for Occupational Health and Safety (CCOHS) recommends different work surface heights for different tasks: about 5 cm (2 in) above elbow height for precision work, with support for the elbows; about 5–10 cm (2–4 in) below elbow height for light work; and 20–40 cm (about 8–16 in) below elbow height for heavy work that presses down. If the bench is also your table saw outfeed, the saw table height comes first, and a lower bench top is easier to live with than a higher one.
Before you build or move it
Test the bench spot on the floor
Mark the bench outline with tape on the floor, together with the saw lane and the walkways. Then walk a long board through the saw lane and check that it lands on the bench, that you can stand at the vise without blocking a door, and that a cord from the nearest outlet reaches the bench without crossing a walkway. If you need a new outlet or circuit near the bench, that is work for a licensed electrician; our woodshop electrical layout guide lists what to plan first.
Sanding at the bench makes fine dust, so keep a spot for a shop vacuum or a hose from the dust collector nearby. The workflow layout guide shows where the bench fits in the order from lumber rack to finishing, and the machine clearance chart lists the working space the machines around the bench need.
FAQ
Questions and answers
Should a workbench be against a wall or in the middle of the shop?
Can my workbench be the outfeed table for my table saw?
How much space do you need around a workbench?
Where should a workbench go in a garage?
How does the woodshop layout planner help with workbench placement?
Your turn
Find the right spot for your workbench
Draw your shop, place the table saw first, then try the bench behind the saw (ticked as outfeed support), along the wall and as an island. The working zones show at once which spot leaves enough room.
Keep exploring
Example woodshop layouts
10' × 12'
Small woodshop
Jobsite saw that rips through the door, bench as outfeed, tools on carts.
View layout →
24' × 24'
24x24 wood shop
Assembly table as outfeed, cyclone next to the big machines.
View layout →
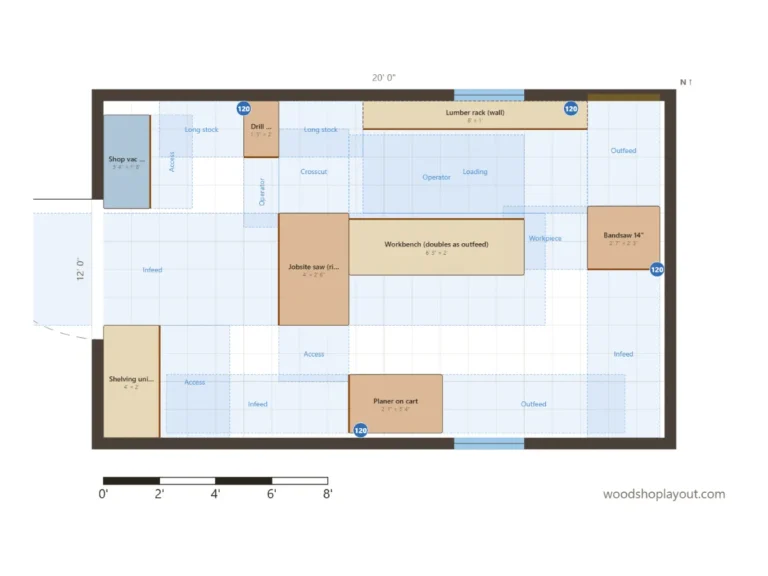
12' × 20'
Shed workshop
Saw rips toward the double doors, bench as outfeed.
View layout →