Guide · Workflow
Woodshop Workflow Layout: Arrange Your Shop in the Order the Wood Moves
A woodshop workflow layout follows the path boards take in almost every project: in through the door, cut to rough size, milled flat and square, joined, assembled and finished. It puts the machines and work areas along that path, so you carry long boards less, cross your own path less and keep the walkways clear. It is for hobby woodworkers arranging a garage, basement or dedicated shop. OSHA’s table saw guidance warns that crosscutting long boards on a table saw creates a hazard to other people, one more reason to give the saw room away from the walkways.
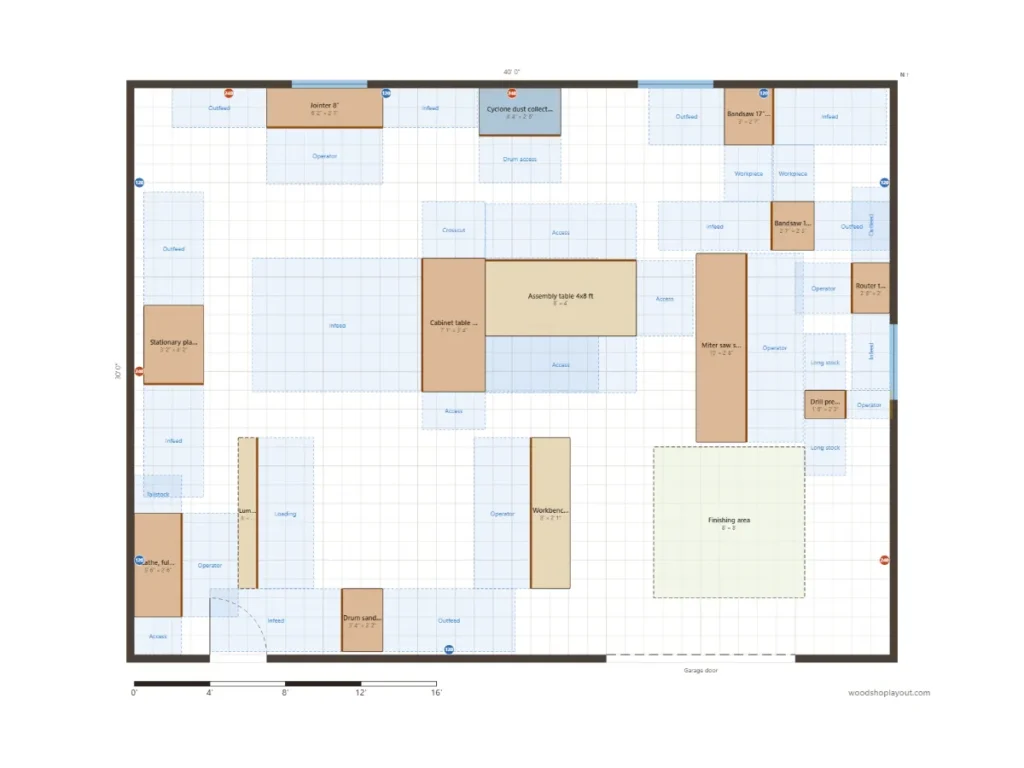
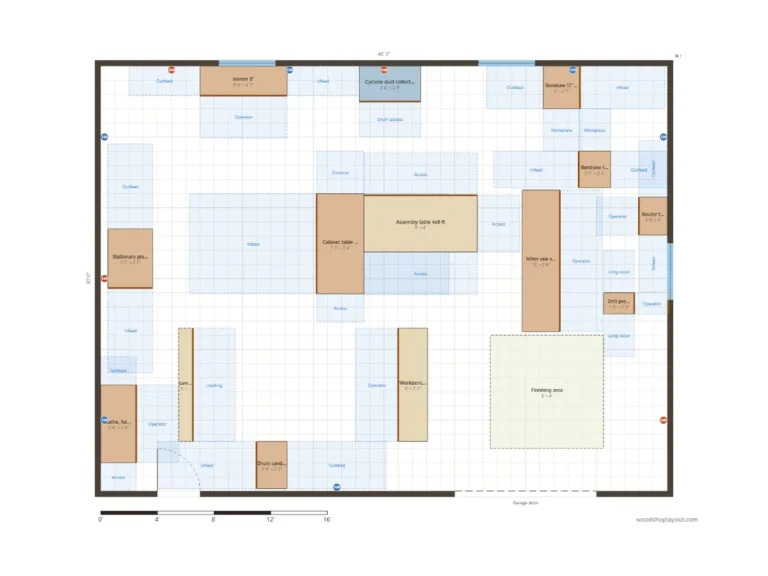
A 30×40 example with separate areas for milling, joinery, assembly and finishing. In a smaller shop the same order still works, the zones just overlap more.
The idea
Follow the board from the door to the finish
A common rule of thumb for planning a woodshop is to think of the work as a line: lumber in → breakdown → milling → joinery → assembly → finishing. Each step has its own machines and its own space needs. If the steps sit next to each other in that order, a board moves forward through the shop instead of back and forth between corners.
Very few home shops can follow the line perfectly. A garage has one big door, a basement has stairs and posts, and machines often share space. That is fine. The goal is not a perfect assembly line but a layout where the next step is usually close to the last one, and where long boards and sheet goods do not have to be turned around in the tightest corner of the room.
Rules of thumb
How to plan a workflow layout
Common planning rules for a home woodshop. Your room, your machines and the kind of projects you build decide how strictly you follow them.
- Store lumber and sheet goods close to the door they come in through, so you do not carry full-length boards through the whole shop.
- Put the breakdown tools (miter saw, circular saw or track saw station) right next to the lumber rack. Cutting boards to rough length early makes everything after it easier to handle.
- Keep the jointer and planer close together, ideally in a lane as long as your boards. They can often share the table saw’s infeed or outfeed lane.
- Give the table saw the longest open line in the room, about 8 ft in front of and behind the blade for full sheets. It is used in several steps, so a central spot often works best.
- Group the joinery tools (bandsaw, router table, drill press, mortiser) near the workbench, where you lay out and fit parts.
- Leave an open assembly area near the bench. An assembly table can double as the table saw’s outfeed support in a small shop.
- Put finishing as far from the dust-making machines as the room allows, near a door or window for fresh air, and away from heaters or other ignition sources.
- Keep walkways about 3 ft wide, about 4 ft where you carry sheet goods, and check that no working zone blocks the path between two steps.
The zones
The work zones in order
Lumber in and breakdown
Lumber rack, sheet goods cart and a miter saw station near the door. Long boards come in, get cut to rough length and do not travel far.
Milling
Jointer, planer and table saw make the parts flat, square and to size. These machines need the longest infeed and outfeed space and the most dust collection.
Joinery and bench work
Workbench with bandsaw, router table and drill press nearby. Here parts are marked out, cut to shape and fitted.
Assembly and finishing
An open table for glue-ups, then a clean corner for finishing, away from the dust and with good air flow.
In a small shop the zones overlap: the workbench can be the saw’s outfeed table and the assembly area at the same time. The order still helps you decide what goes next to what.
Small shops
Workflow in a garage or small shop
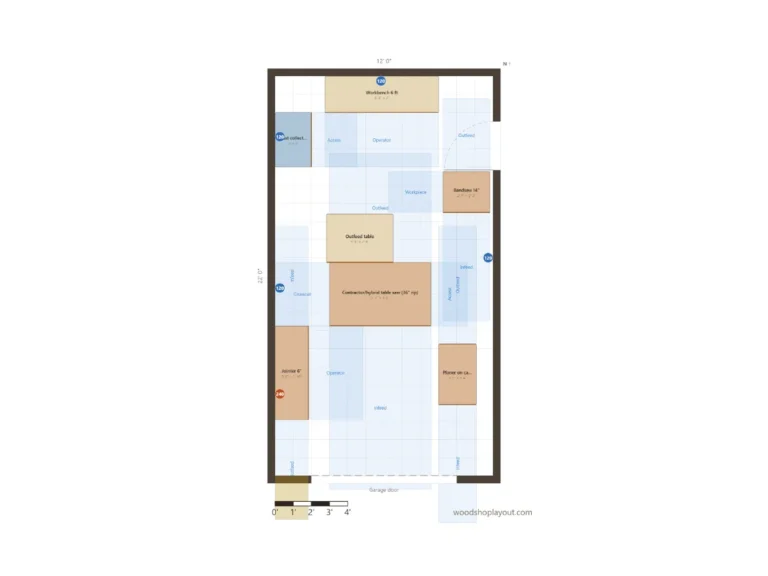
In a one-car garage or a 10×12 room there is rarely space for separate zones. Here the workflow idea helps in a different way: decide which machines must stand ready all the time and which can roll out of a parking spot when you need them. Machines on mobile bases can sit along a wall and move into the open middle for their step, then roll back.
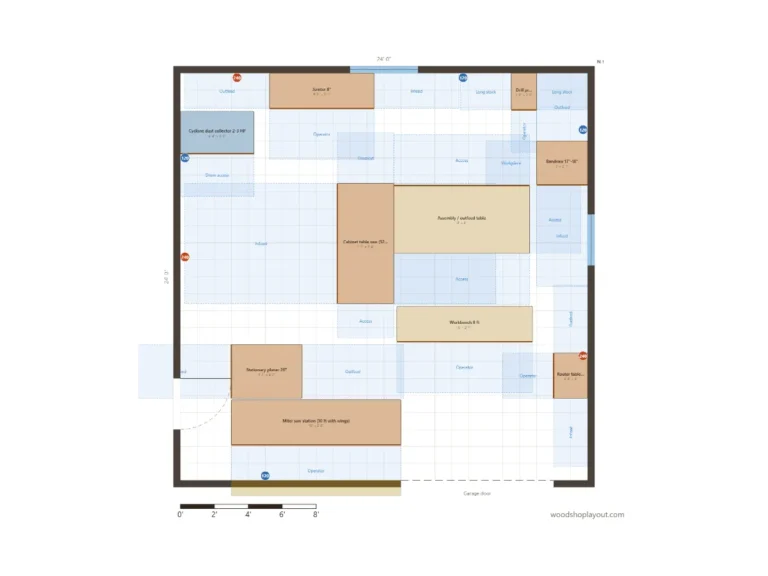
A useful check is to walk through one typical project on paper. Where does the board come in, where is it cut to length, where is it milled, where is it glued up? If the path crosses itself several times or a machine has to be moved for almost every step, try swapping two machines. Our small woodshop layout and 1 car garage woodshop layout show how this can look in a tight space.
Fixed points
Doors, power and dust collection come first
A workflow layout still has to fit around the things you cannot move easily: the garage door or entry door, windows, the electrical panel and outlets, posts and stairs. Big 240V machines are easier to power near the panel, and the dust collector works best close to the machines that make the most chips. Mark these fixed points in your plan first, then arrange the zones around them. See our guides on woodshop electrical layout and dust collection ductwork for the details; wiring belongs to a licensed electrician, and dust collection and finishing should follow the makers’ instructions and local fire code.
FAQ
Questions and answers
What is the best workflow for a woodshop?
Where should the table saw go in a workflow layout?
Where should the finishing area be in a woodshop?
How do I plan a workflow in a small shop?
Can the woodshop layout planner help me plan my workflow?
Your turn
Lay out your shop in the order you work
Draw your room, mark the door, power and windows, then place the machines from lumber rack to finishing corner. The working zones and overlap warnings show where the path gets tight.
Keep exploring