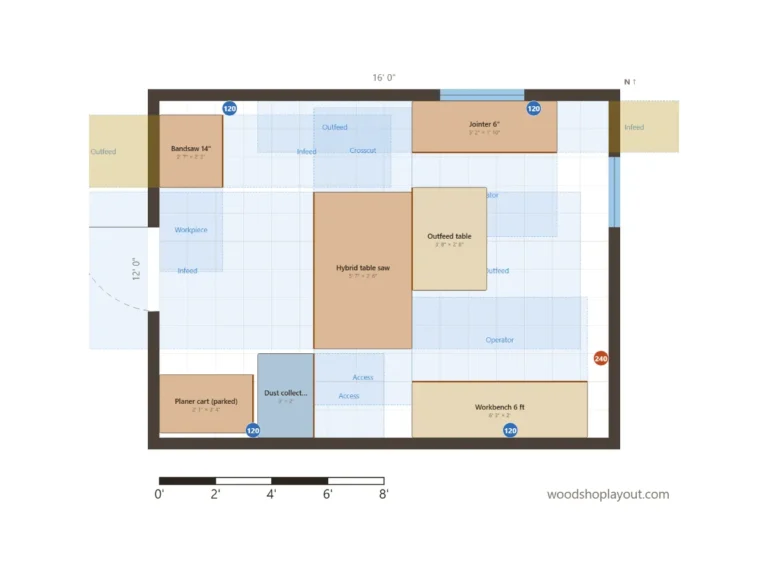
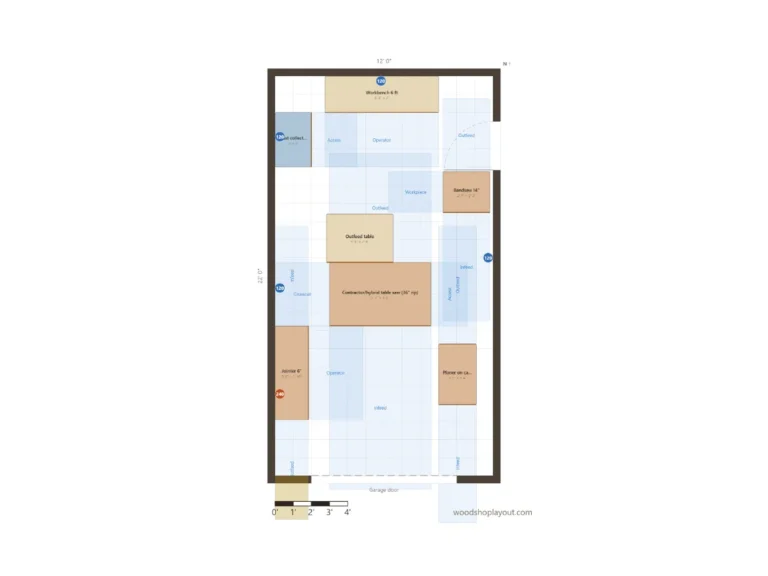
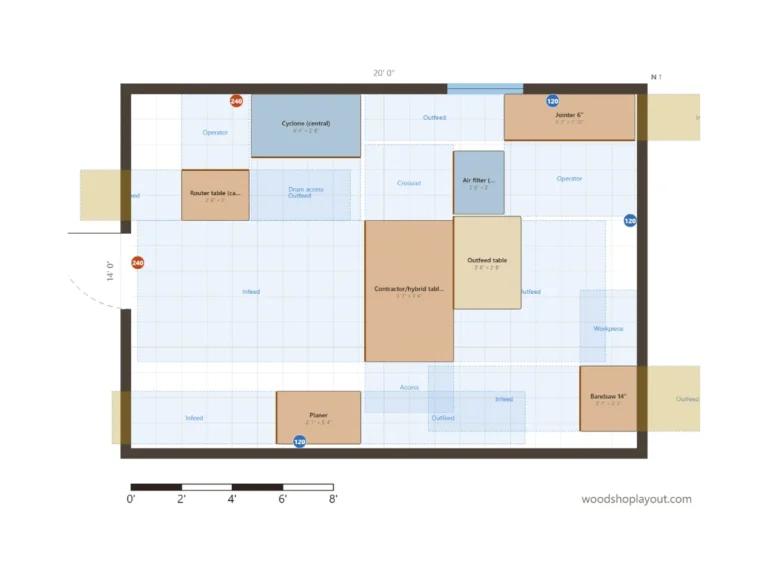
Woodshop layout example · 10' × 12'
Small Woodshop Layout
In a small woodshop — this example is 10×12 ft, about the size of a spare bedroom or a shed — the floor plan matters more than the tool list. The layout below shows the most common small-shop strategy: one mobile table saw that rips through the open door, a workbench that doubles as outfeed table, and machines on carts that roll out only when you need them.
Interactive preview
Explore the plan
Zoom in to read every machine and zone. Open it in the planner to move things around.

Workflow
How this layout works
- Lumber in through the door on the west wall.
- Rip and crosscut at the jobsite saw on a mobile stand, facing the door. For long rips, open the door: the infeed zone continues outside.
- Support comes from the workbench behind the saw. Build or adjust it to the saw’s table height and it becomes your outfeed table.
- Planing with a benchtop planer on a cart. Roll it into the open lane to the east when you need it.
- Drilling at a drill press on a stand by the west wall.
Machine placement notes
- A 10x12 room cannot give a table saw full 8 ft infeed and outfeed inside the walls. Use the door, cut long boards to rough length first, or break down sheet goods with a track saw or circular saw outside.
- Make the workbench the same height as the saw table so it works as outfeed support.
- Machines on carts: when parked, they need no working zone. Plan where each one parks and where it stands when in use.
- Wall space is storage: clamps, hand tools and lumber go up, not on the floor.
- Keep the door swing clear; it is also your escape route.
Dust and power
Dust collection and power
A shop vac with a cyclone separator is usually enough for a jobsite saw and a benchtop planer in a small room, especially with hoses kept short. A benchtop planer makes a lot of chips quickly, so empty the separator often. Fine dust is the bigger health problem in a closed room: wear a dust mask or respirator and consider an air filter.
Small rooms often have only a couple of 120V outlets on one circuit. Running a saw and a vac together can trip a breaker; check the circuit before you plan to run both, and mark your outlets in the planner so cords do not cross the walkway.
Your turn
Customize it for your shop
Enter your real room size and door position, then try your own tools. If you see red marks, try rotating the saw toward the door or swapping a stationary tool for a benchtop version on a cart.
Keep exploring